Générateur de vidéo IA
 IA Image vers vidéo
 IA Texte vers vidéo
 Générateur d'images IA
 IA Image vers image
 IA Texte vers image
 AI Video Effects
 AI Image Effects
 Donnez vie à votre imagination avec les puissants outils Viyou AI.
 Contenu
Why AI Images Still Look Fake
Most AI images today are almost convincing.
But something feels off.
- Skin looks too smooth
- Lighting doesn’t match the scene
- Details feel “generated,” not captured
- The image lacks a sense of camera
The problem usually isn’t the model.
It’s that the image isn’t grounded in how real photos are made.
The Shift That Changes Everything
Instead of asking:
“What should this image look like?”
Start asking:
“How would a photographer shoot this?”
That shift alone fixes 80% of realism issues.
7 Practical Ways to Make AI Images More Realistic
1. Fix Your Lighting First (This Matters Most)
Lighting is the biggest giveaway.
Bad AI images often have:
- Flat lighting
- Multiple conflicting light sources
- No shadow direction
What to do instead
Be specific about light:
- soft window light from the left
- golden hour sunlight
- diffused studio lighting
- backlight with soft rim highlights
Example
Instead of:
a woman in a room
Write:
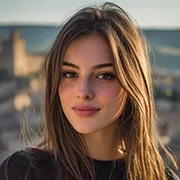
a woman sitting near a window, soft natural daylight coming from the side, gentle shadows shaping her face
Instantly more believable.
2. Use Real Camera Language
AI models respond surprisingly well to photography terms.
Add:
- 35mm / 50mm / 85mm lens
- shallow depth of field
- f/1.8 aperture
- RAW photo
Why this works
It forces the model to simulate:
- focus falloff
- background blur
- real composition
Example
shot on 85mm lens, shallow depth of field, natural focus falloff
3. Add Imperfections (Perfection Looks Fake)
Real photos are imperfect.
AI tends to over-polish everything.
Add small flaws
- slight motion blur
- uneven lighting
- subtle skin texture
- tiny background mess
Example
realistic skin texture with visible pores and slight imperfections
This alone makes a huge difference.
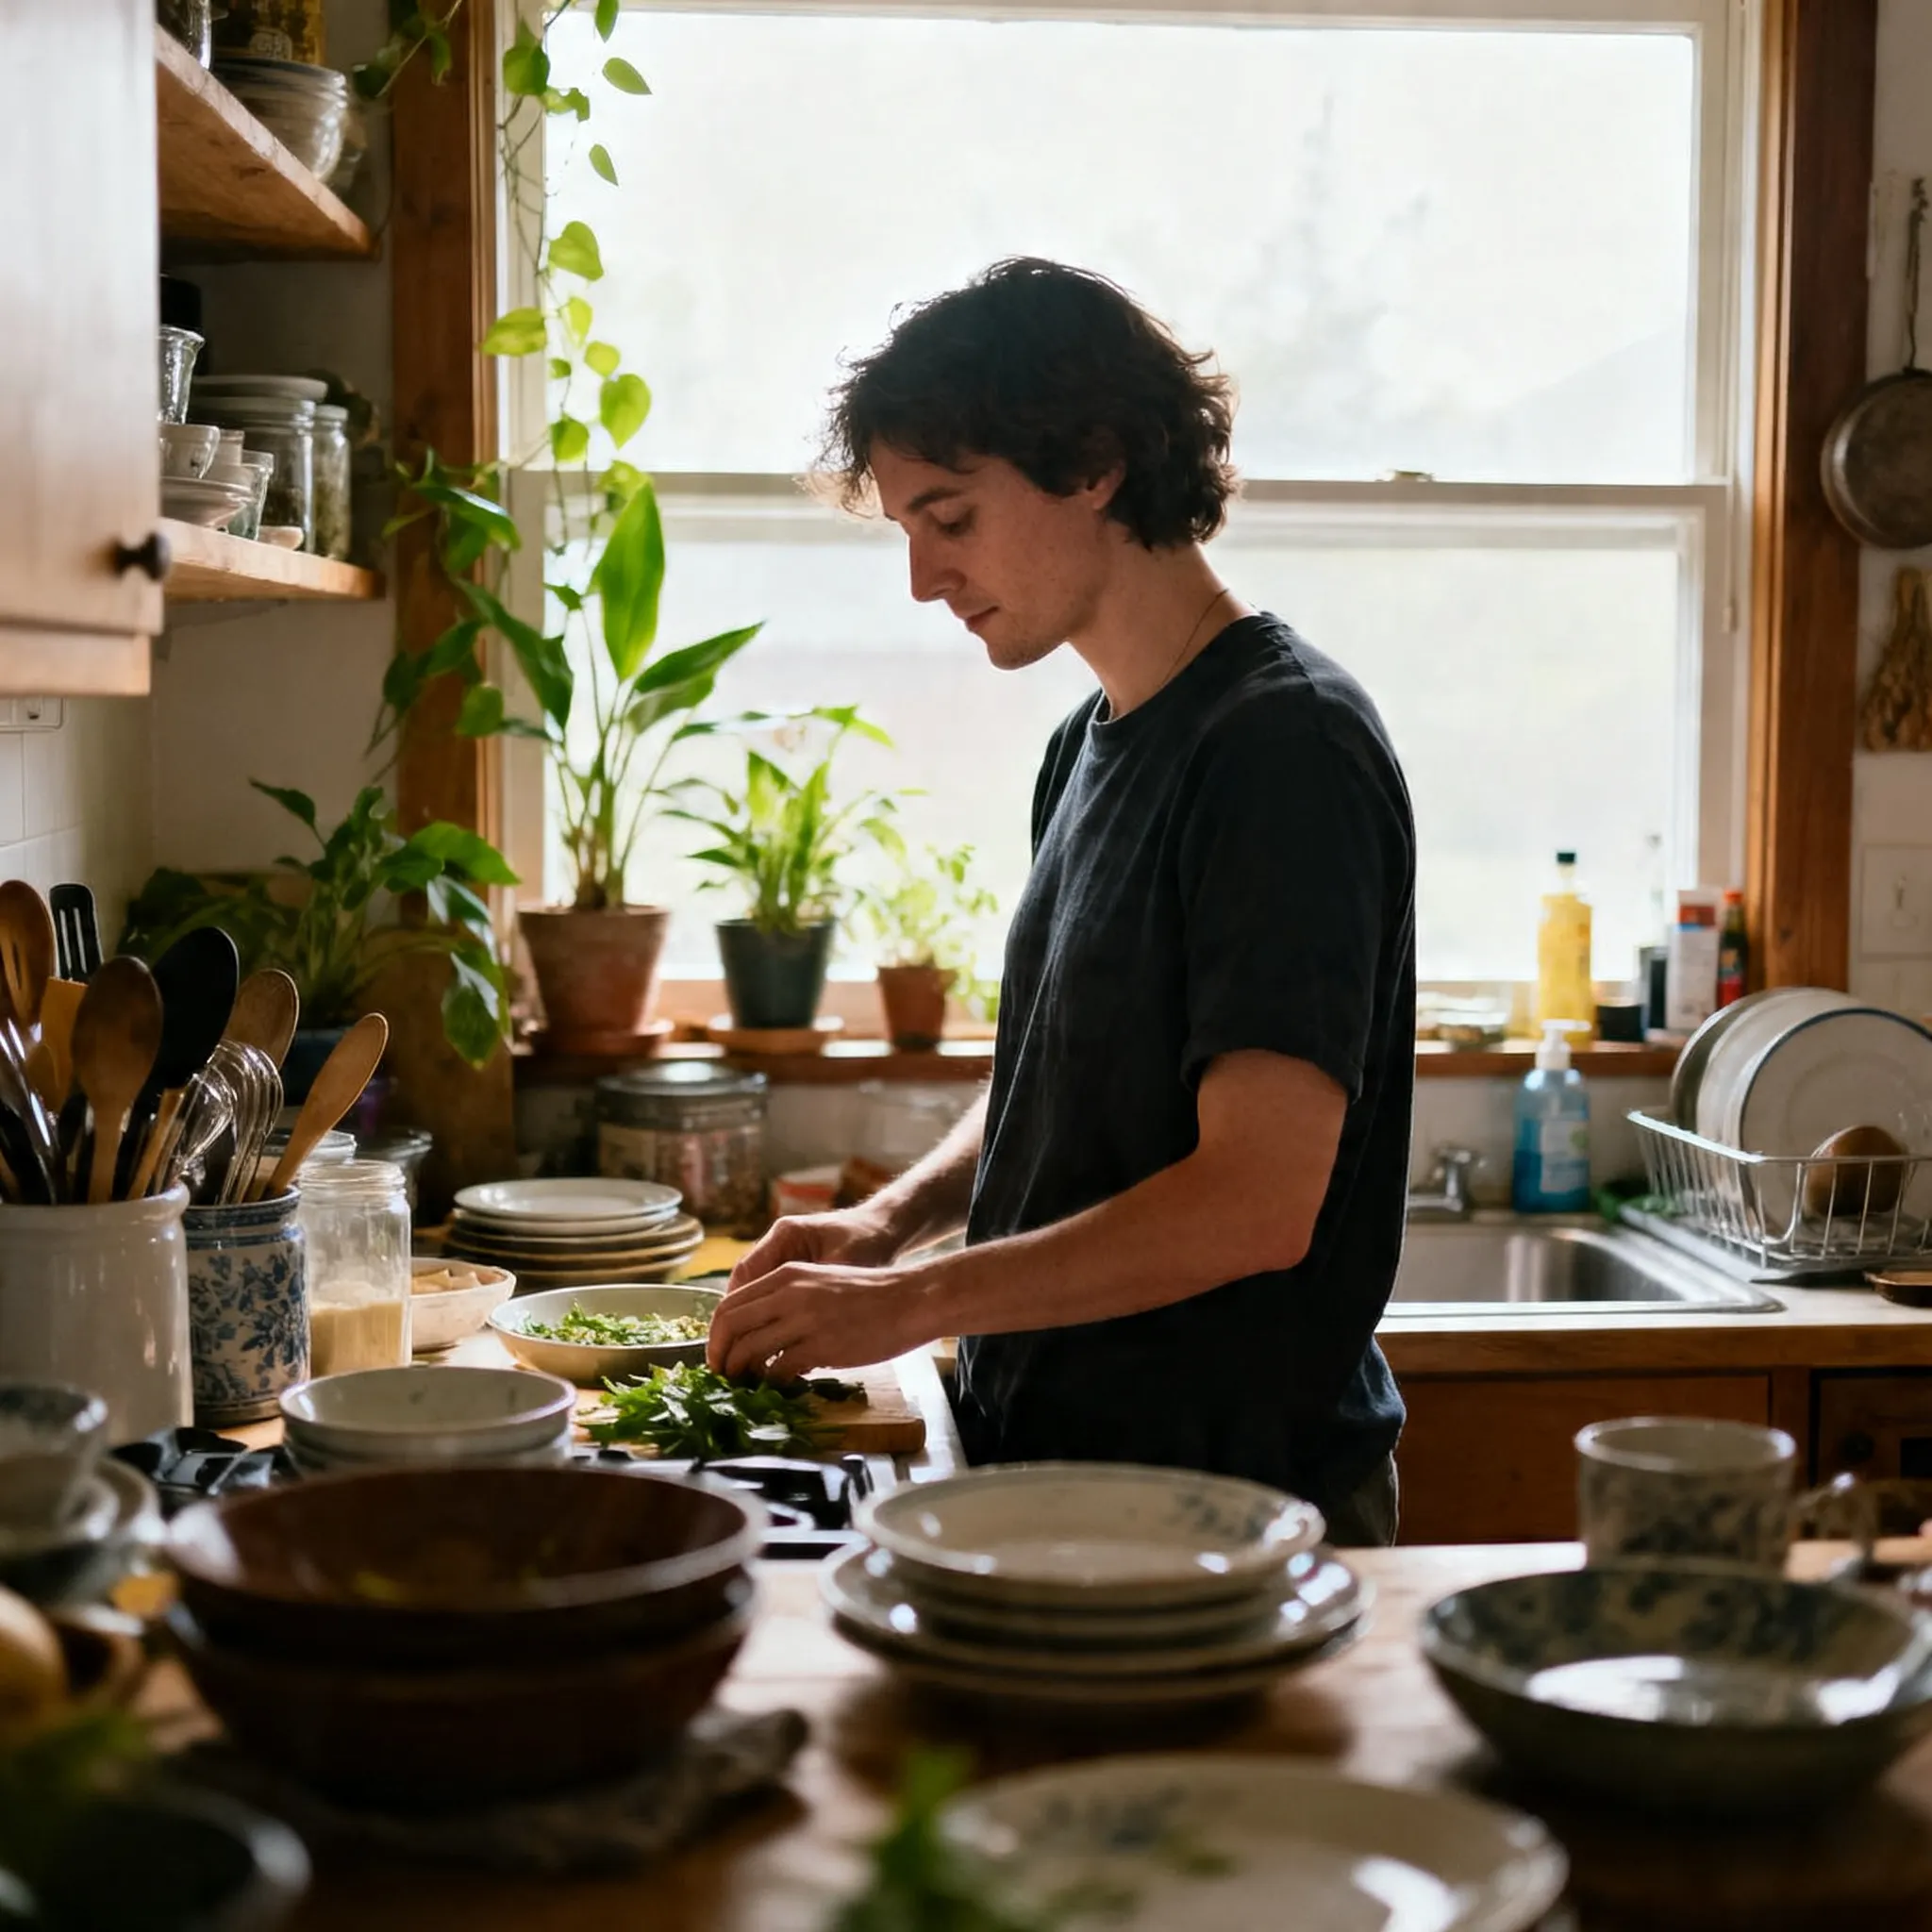
4. Ground the Scene in Reality
A lot of AI images feel fake because they exist in “nowhere space.”
Fix it by adding context:
- location (apartment, café, street)
- objects (books, glass, reflections)
- textures (fabric, wood, concrete)
Example
a woman sitting in a sunlit living room with books, plants, and soft fabric textures
The more grounded the scene, the more believable it feels.
5. Control Depth of Field
Flat images = fake images.
Real photos have depth.
Add:
- shallow depth of field
- blurred background
- foreground elements
Example
shallow depth of field with soft background blur and foreground light bokeh
6. Keep Faces Natural (Avoid “AI Beauty”)
Over-perfect faces are a dead giveaway.
Avoid
- “perfect face”
- “flawless skin”
- “extremely detailed beauty”
Use
- natural makeup
- relaxed expression
- candid moment
Example
natural expression, relaxed posture, subtle asymmetry in facial features
7. Use Image-to-Image for Refinement
This is where most people miss out.
Text prompts get you 80% there
Image-to-image gets you the final 20% realism
Workflow:
- Generate a base image
- Re-run it with:
Tools like Viyou AI are especially useful here:
- Generate base visuals (text → image)
- Then refine realism (image → image)

Before vs After Prompt Example
Basic Prompt
a beautiful woman in a room
Realistic Prompt
a woman sitting near a large window, soft natural daylight from the side, gentle shadows shaping her face, natural skin texture with visible pores, relaxed expression, shallow depth of field, shot on 85mm lens, cinematic color grading, RAW photo style
Same idea. Completely different result.
Quick Checklist (Use This Every Time)
Before generating, ask:
- Is the lighting clearly defined?
- Is there camera language?
- Does the scene feel real?
- Are there small imperfections?
- Is depth of field included?
If yes → your image will already look better than most.
Final Thoughts
Realism in AI images doesn’t come from more detail.
It comes from better decisions:
- Light
- Camera
- Texture
- Context
Once you start thinking like a photographer, not just a prompt writer, your results improve immediately.
Try It with Viyou AI
If you want more control over realism:
👉 Use Viyou AI to generate, refine, and iterate images quickly
— especially with image-to-image workflows.